Are You Taking Advantage of These MyWear® Tools?

Now that you’ve familiarized yourself with the MyWear platform and designed your first item, you might be wondering if there’s any hacks or tools for even more control during the design process. Lucky for you, there is! Here we’ll walk you through some of the lesser known tools to utilize while designing with MyWear!

apply image to tool launchmywearApply Image To

If you only want to apply art to specific sections of your design, use the “Apply Image To” dropdown to add art to desired panels, or uncheck components where you don’t want your art to be applied.


artwork tabs hereAdditional Artwork Tabs

If you’re planning on using more than one artwork on your piece, you can use the additional artwork tabs to do so. When combined with “apply image to” you can create pieces that feature multiple works of art on different sections, or it can be used as a tool for even more control over the placement of your art and how it will look on your garment.


clone here tool launchmywearClone Tool

Use the clone tool to clone your art to a second (or third!) artwork tab.


Center Arrow Button

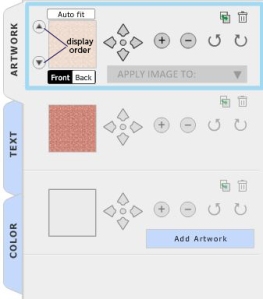
As you’ve probably figured out, the four arrows located in the artwork tab will align your art further to the left or right, or higher or lower. But, there’s also a small center button which will make your arrows move in smaller increments.


display orderDisplay Order

Use the layer up/down buttons located to the left of your art thumbnail to change layer order.

To set a logo, use a .png file (without a background) and overlay it on top of the other layers.


Color Tab

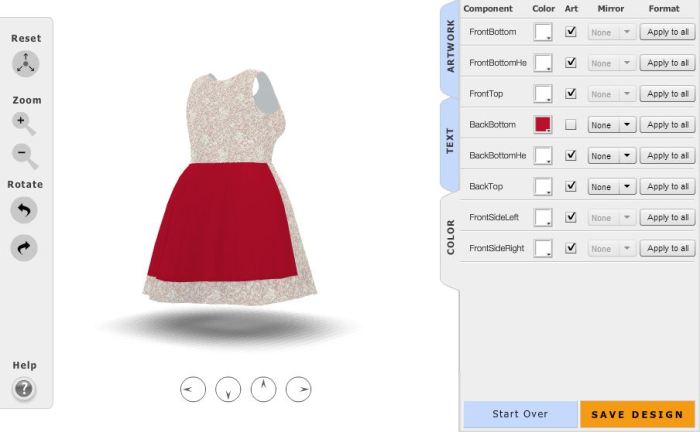
To apply solid color, go to the color tab and uncheck “art” in the component you’d like to apply color to. Click the color box and use the dropper to choose a color or enter a color hex code.

color tab launchmywear

Mirror & Copy Functions

You can also find the “mirror” and “copy” functions located in the color tab. Use these to copy or mirror the art from one side onto the other. For example, for symmetrical sleeves, use the color tab’s dropdown menu under “Mirror” and select “Mirror” to make the left component match with the right. Select “Copy” to apply an identical copy of the art onto the other sleeve.

mirror and copy sides on launchmywear

Once you get the hang of these tools, you’ll find many inventive ways to use them to create truly unique items that your customers can’t find anywhere else. Want a quick visual refresher course? Look no further than our video tutorial!

LaunchMyWear How-To: Create a Tribal Print

In this week’s MyWear® How-To, I’ll walk you through creating your own tribal print. To do this, you’ll need Photoshop and a little creativity. Easy peasy!

photoshop paint tribal print how to

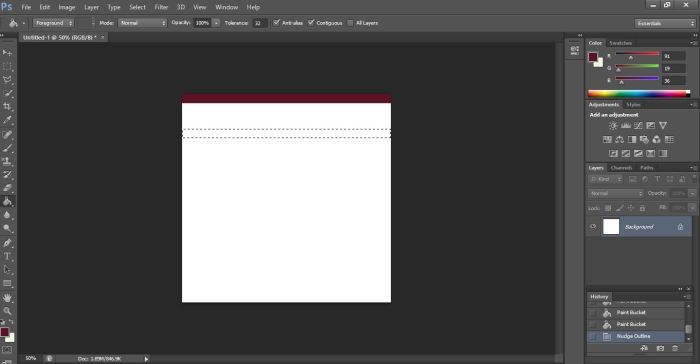
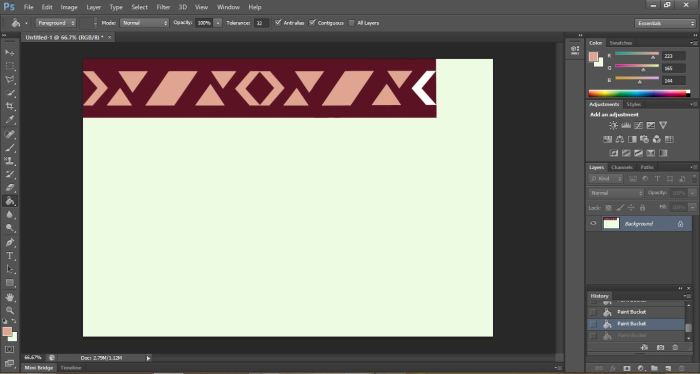
Start by using the rectangular marquee tool, located on your tool bar to your left, to create a couple of lines. Fill them in with the desired color using the paint bucket, also located in your tool bar.

1 step 1 lines photoshop how to

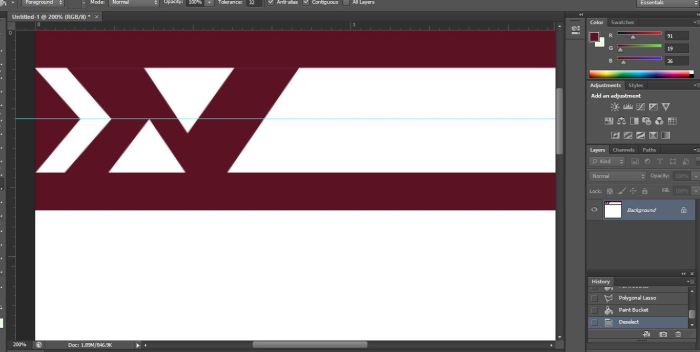
Use the polygonal Lasso Tool to begin shaping out an angular design. To do this click corners and the polygonal lasso will connect them with lines. You’ll be using this tool a lot for this particular design, so I recommend playing around with it for a few moments to get a good feel for it.

2 polylasso prefill

Once you’ve created a shape, fill it in with the desired color.

3 pollylasso post fill tribal print how to

Add an additional color, if desired.

4 fill in second color

Create more space for expanding your design by lengthening the canvas size. To do this, go to “Image” on the Menu Bar, then “Canvas Size”, and shift the anchor to one side. Enter a larger number in the Width box.

5 canvas tool photoshop making tribal print how to

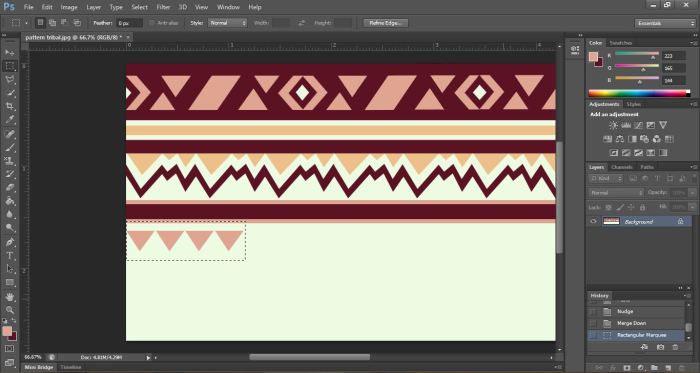
To repeat a design, use the rectangular marquee tool to select area you’d like to repeat. Copy and paste (Ctrl+C, Ctrl+V) and use cursor arrows to move the desired spot.

6 keep going

Continue creating a design using your Polygonal Lasso Tool and filling it with the Paint Bucket tool, adding additional colors as you go.

7. tribal coming along

From here, it is really just a matter of creating, copying, and pasting, and adding to your design.

copy and paste tribal print

Here’s my final pattern:

pattern tribal

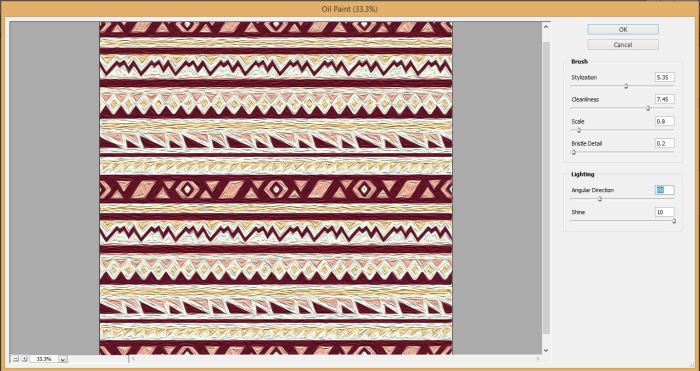
From here, you can either save and upload to LaunchMyWear or you can add texture. To do this, Go to “Filter” on your Menu Bar and dropdown to select “Oil Paint”. Move around the dials and up the “shine” until you achieve desired effect.

8 painting tribal print

Now you’ve created a one-of-a-kind tribal print ready to be uploaded to LaunchMyWear and turned into an awesome piece of clothing or accessory. Have fun and remember to tweet your designs to @LaunchMyWear.

Final red tribal print for blog

LaunchMyWear How-to: Create a Print from a Photograph

This is the first installment of a weekly-running tutorial on different ways you can create art for your LaunchMyWear collection. In this one, we’ll explore how to make a print from a photograph!

cat bearded dragon print

Today’s tutorial will require Photoshop. Adobe Illustrator is also used for an additional step, but not necessary. Some basic knowledge of Photoshop would come in handy, but fear not if you’re a beginner. There are lots of free resources out there.

Because life if absurd and I’m obsessed with my pets, Andre and Shanté, they will be the source of my pattern today!

Cat and bearded dragon
Awww

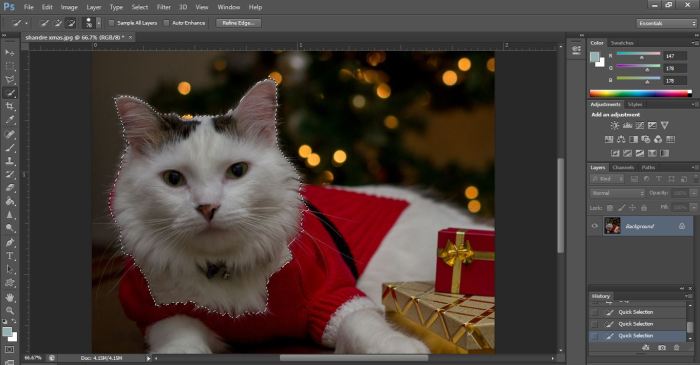
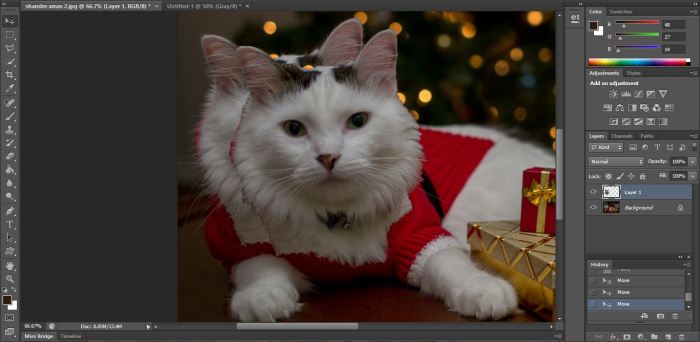
1. Open desired photo in Photoshop. Click on the quick selection tool, located to the left in your toolbar, and select the area you want to feature in your print. You can use the magic wand or lasso to select the area, as well.

quick select how to photoshop launchmywear

2. Create a second blank document in Photoshop.

3. Copy and paste the selected area (ctrl-c, ctrl-v) and use the cursor to drag the layer to its own new Photoshop document.

copy and paste layer in photoshop
Double the Andre, double the fun!

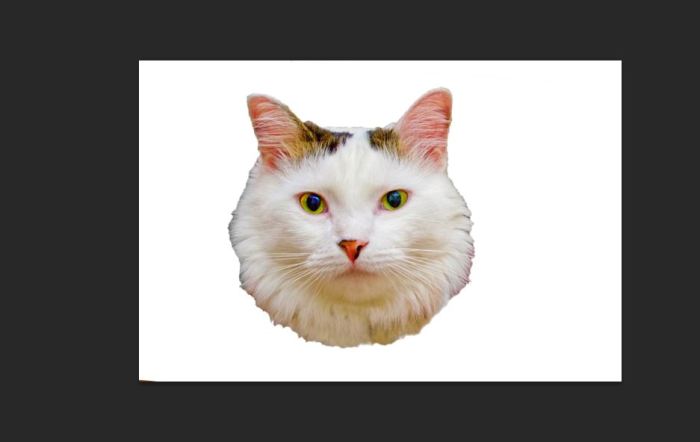
4. Use the clone stamp tool or eraser to soften edges. To select the area you want to clone, hold down the alt key while clicking on desired area. Then, click again where you want to apply the cloned selection. If you’re new to this feature, take a few minutes to play around with it. It’s incredibly intuitive once you get the hang of it, but requires a little getting used to. In this case, I’m selecting the white background and applying it to the edges of Andre’s fur, to soften the appearance.

softerning with stamp tool
This is getting weird.

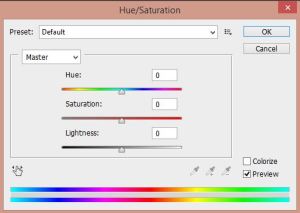
hue saturation5. If you want a cartoon-y effect, I recommend turning up the saturation, which will help keep the photo from getting washed out during the process of making it look more illustrated later in AI. To add saturation, go to “Image” on your menu bar, then “Adjustments” in the dropdown. There, you’ll see an option for “Hue/Saturation”. Turn the saturation dial up and press ok. You can also turn up the exposure under “adjustments”, which I have done here.

vibrant andre

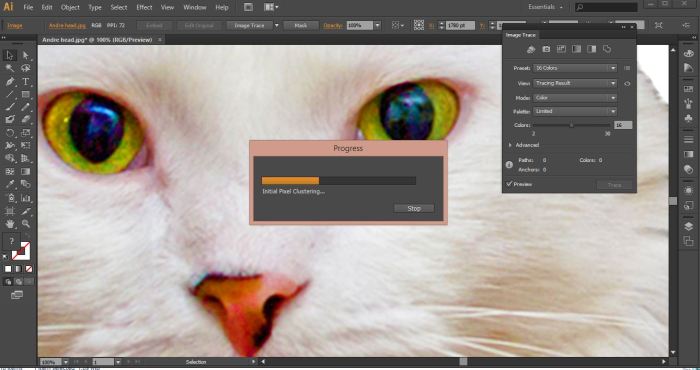
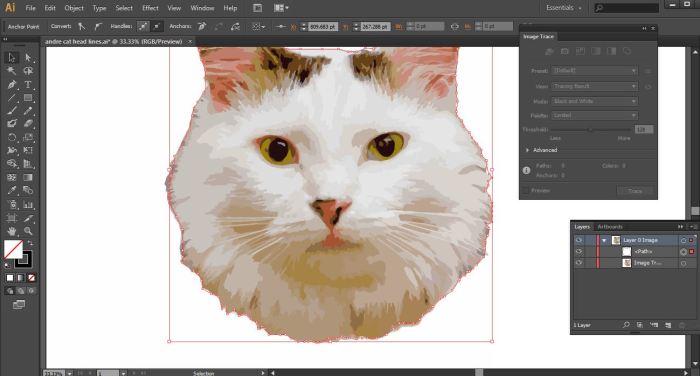
6. To create the cartoon-y effect mentioned above, save your saturated document and open in Adobe Illustrator. Go to “Object” in the top menu bar and select “Artboards”, followed by “Fit to Artwork Bounds”, which will be necessary for saving/exporting the file later on. From here, you can click on your image and an “Image Trace” box should appear. Use this to change the preset to 16 colors.

ai andre 1

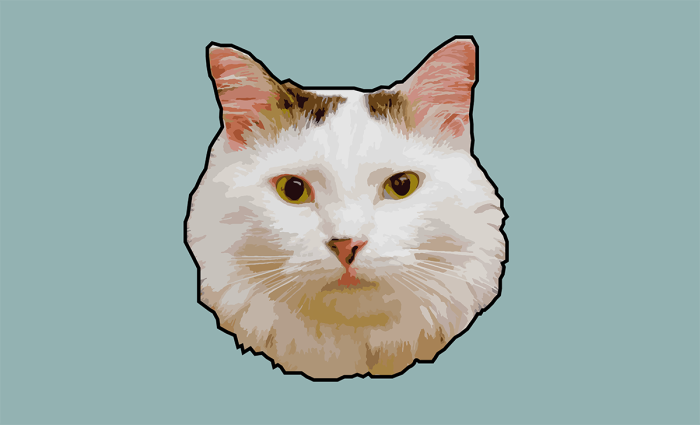
You can also use the pen tool, located on your toolbar to the left, to trace your photo and create an outline.

andre pen tool adobe illustrator how to

7. Return to Photoshop after exporting your art from Adobe Illustrator (don’t forget to check the “Use Artboards” box when exporting!) . From here, create a background color with the paint bucket tool.

paint bucket background

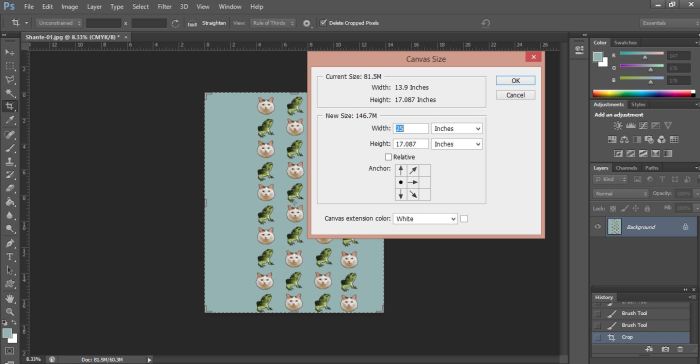
8. Enlarge your canvas size and copy and paste your photo repeatedly until you begin to create a print. Here, I added Shanté to the mix in the same way that I did with Andre earlier.

Canvas size photoshop how to

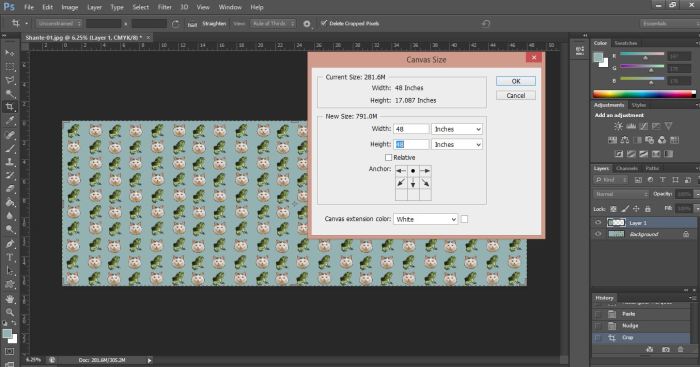
9. Keep going until you develop the desired size and look.

keep going canvas size

10. There you have it! After re-sizing to 20MB or less and saving, your artwork is ready to be uploaded to LaunchMyWear. You can also size it into a square and use the tile option when uploading to LaunchMyWear.com Your print is now on its way to being turned into an incredible one-of-a-kind item. You’re not going to find this scarf anywhere else, that’s for sure!

shandre cat and bearded dragon lizard scarf

Have fun! And, as always, tweet you designs or questions @LaunchMyWear.

cat bearded dragon print